
Why an RO Booster Pump Vibrates After Installation
RO booster pump vibration after installation can come from loose mounting, trapped air, tubing touching a cabinet, or water pressure that doesn't suit the system. A steady hum and a little movement may be normal, but loud rattling or repeated starting and stopping deserves attention.
The pattern of the noise can help you narrow down the cause. Start with the checks you can make safely, then leave pressure adjustments and internal pump work to a water-treatment professional.
What Normal RO Booster Pump Vibration Sounds Like
An RO booster pump moves water under pressure, so some motor sound and vibration are expected. The sound varies with the pump model, mounting surface, and surrounding cabinet. A hollow cabinet wall, for example, can make a modest hum more noticeable.
The useful distinction is whether the pump runs steadily or appears to struggle.
A steady hum during water production
A consistent hum while the system produces water can be normal. On an under-sink system, the pump may run while the RO storage tank refills and stop when the system reaches its shutoff point.
Listen for a stable sound rather than judging by volume alone. If the pump stays in place, the tubing doesn't knock, and there are no leaks or interruptions, a mild hum may simply be part of operation.
Rattling, chattering, or frequent cycling
Loud rattling, grinding, violent shaking, or a pump that starts and stops repeatedly calls for attention. Those symptoms can point to a mounting problem, restricted flow, a control issue, or another fault.
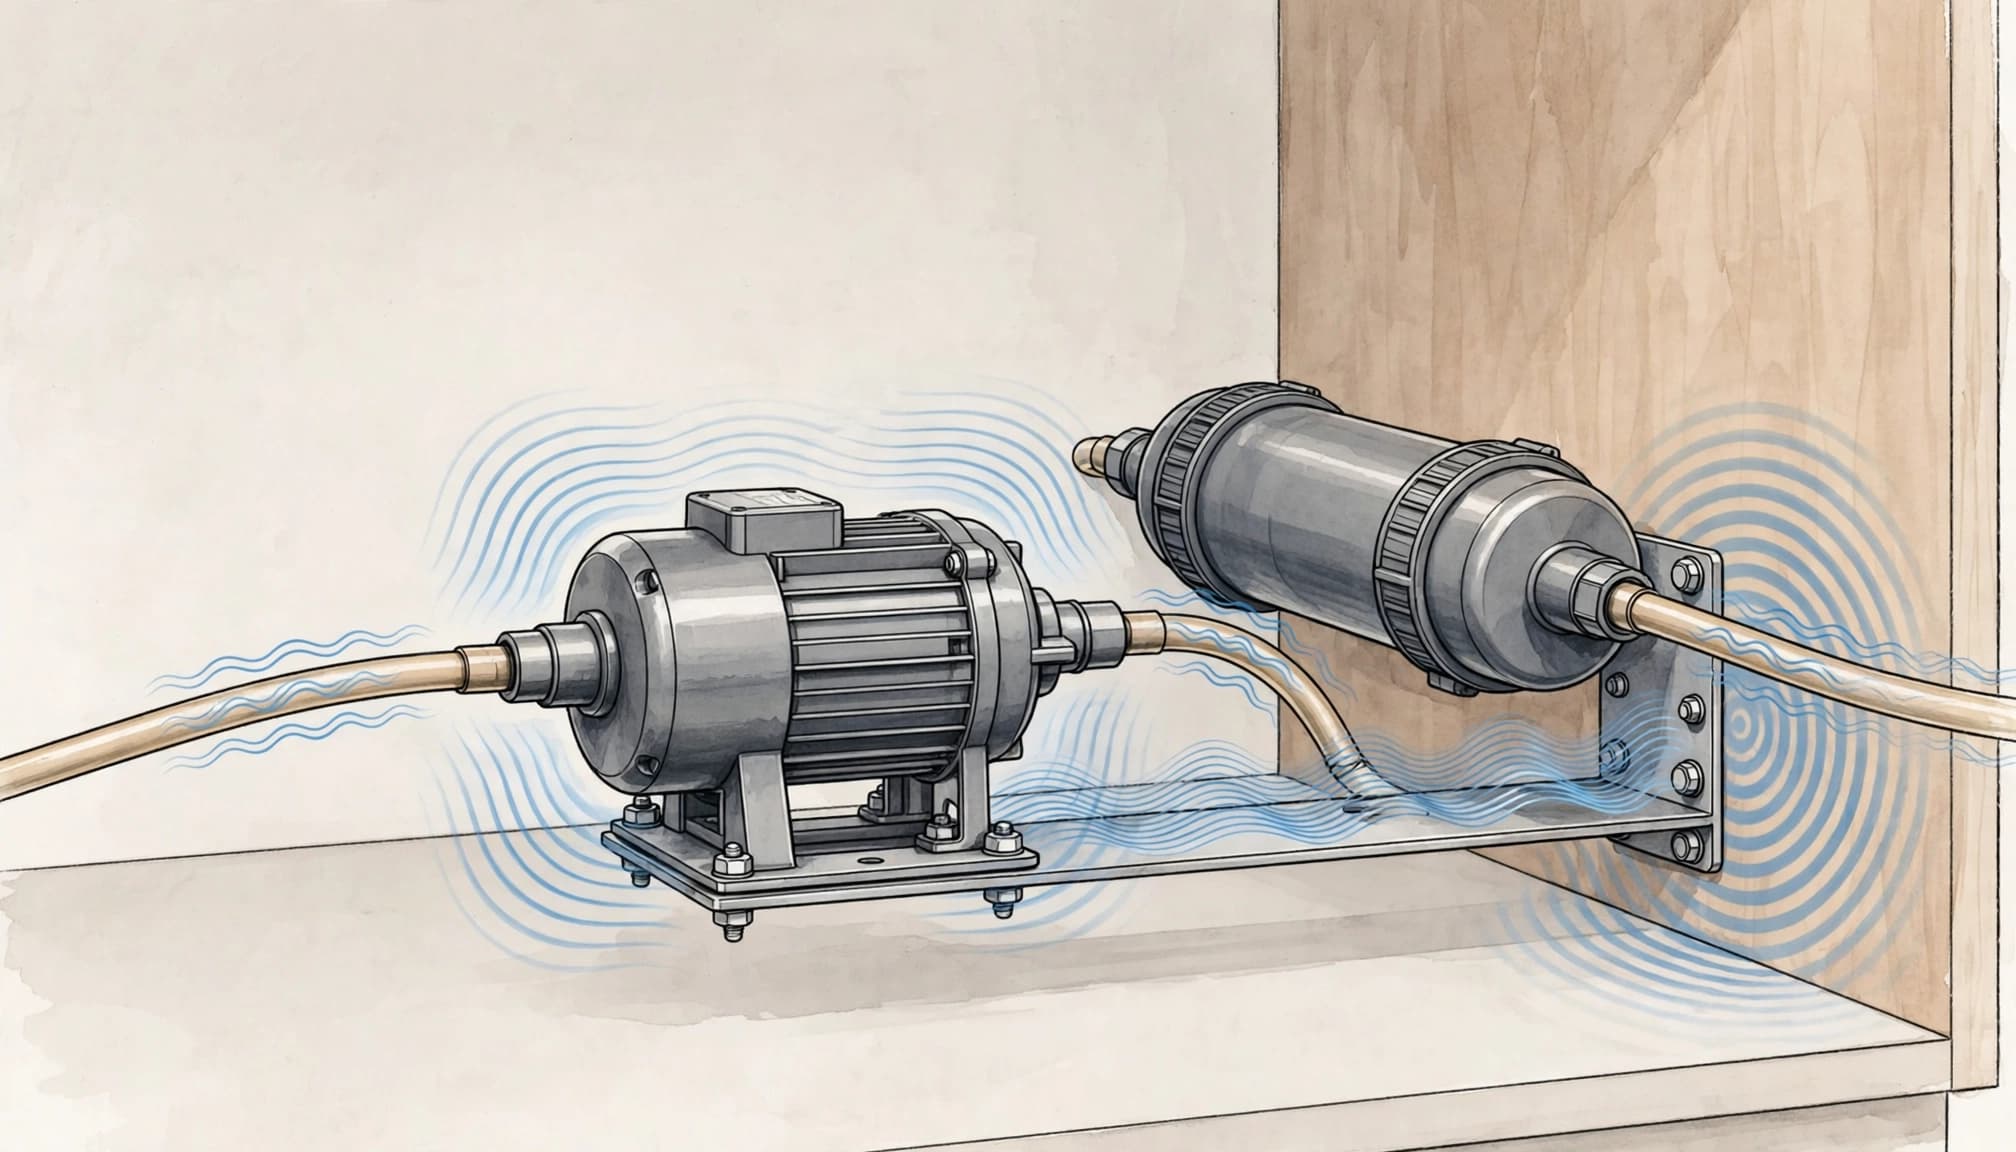
Also note when the sound occurs. Noise during tank refill gives a technician different information than noise that continues when the system should be shut off.
Start With a Safe Visual Check
Before touching anything, look around the installation while the equipment operates. Check the cabinet floor, fittings, pump area, and nearby tubing for moisture. Look for a tube pressed against a panel or an object resting against the pump.
If you see an active leak near electrical equipment, don't reach into the wet area or touch a wet plug. Turn off power only if you can do so safely from a dry location, then shut off the water feed if accessible. Arrange service before restarting.
For a dry system, disconnect the pump's power before inspecting the mounting or moving loose items nearby. Don't open electrical covers, loosen pressurized fittings, or adjust pressure controls.
Take note of when the vibration began and whether it changes as the tank fills. That information can help distinguish an installation-related noise from a pressure or control problem.
Check the Pump's Mounting Surface
A pump can vibrate more noticeably if its bracket is loose, uneven, or attached to a surface that amplifies movement. Cabinet walls and thin panels can act like sounding boards, especially when the pump touches them directly.
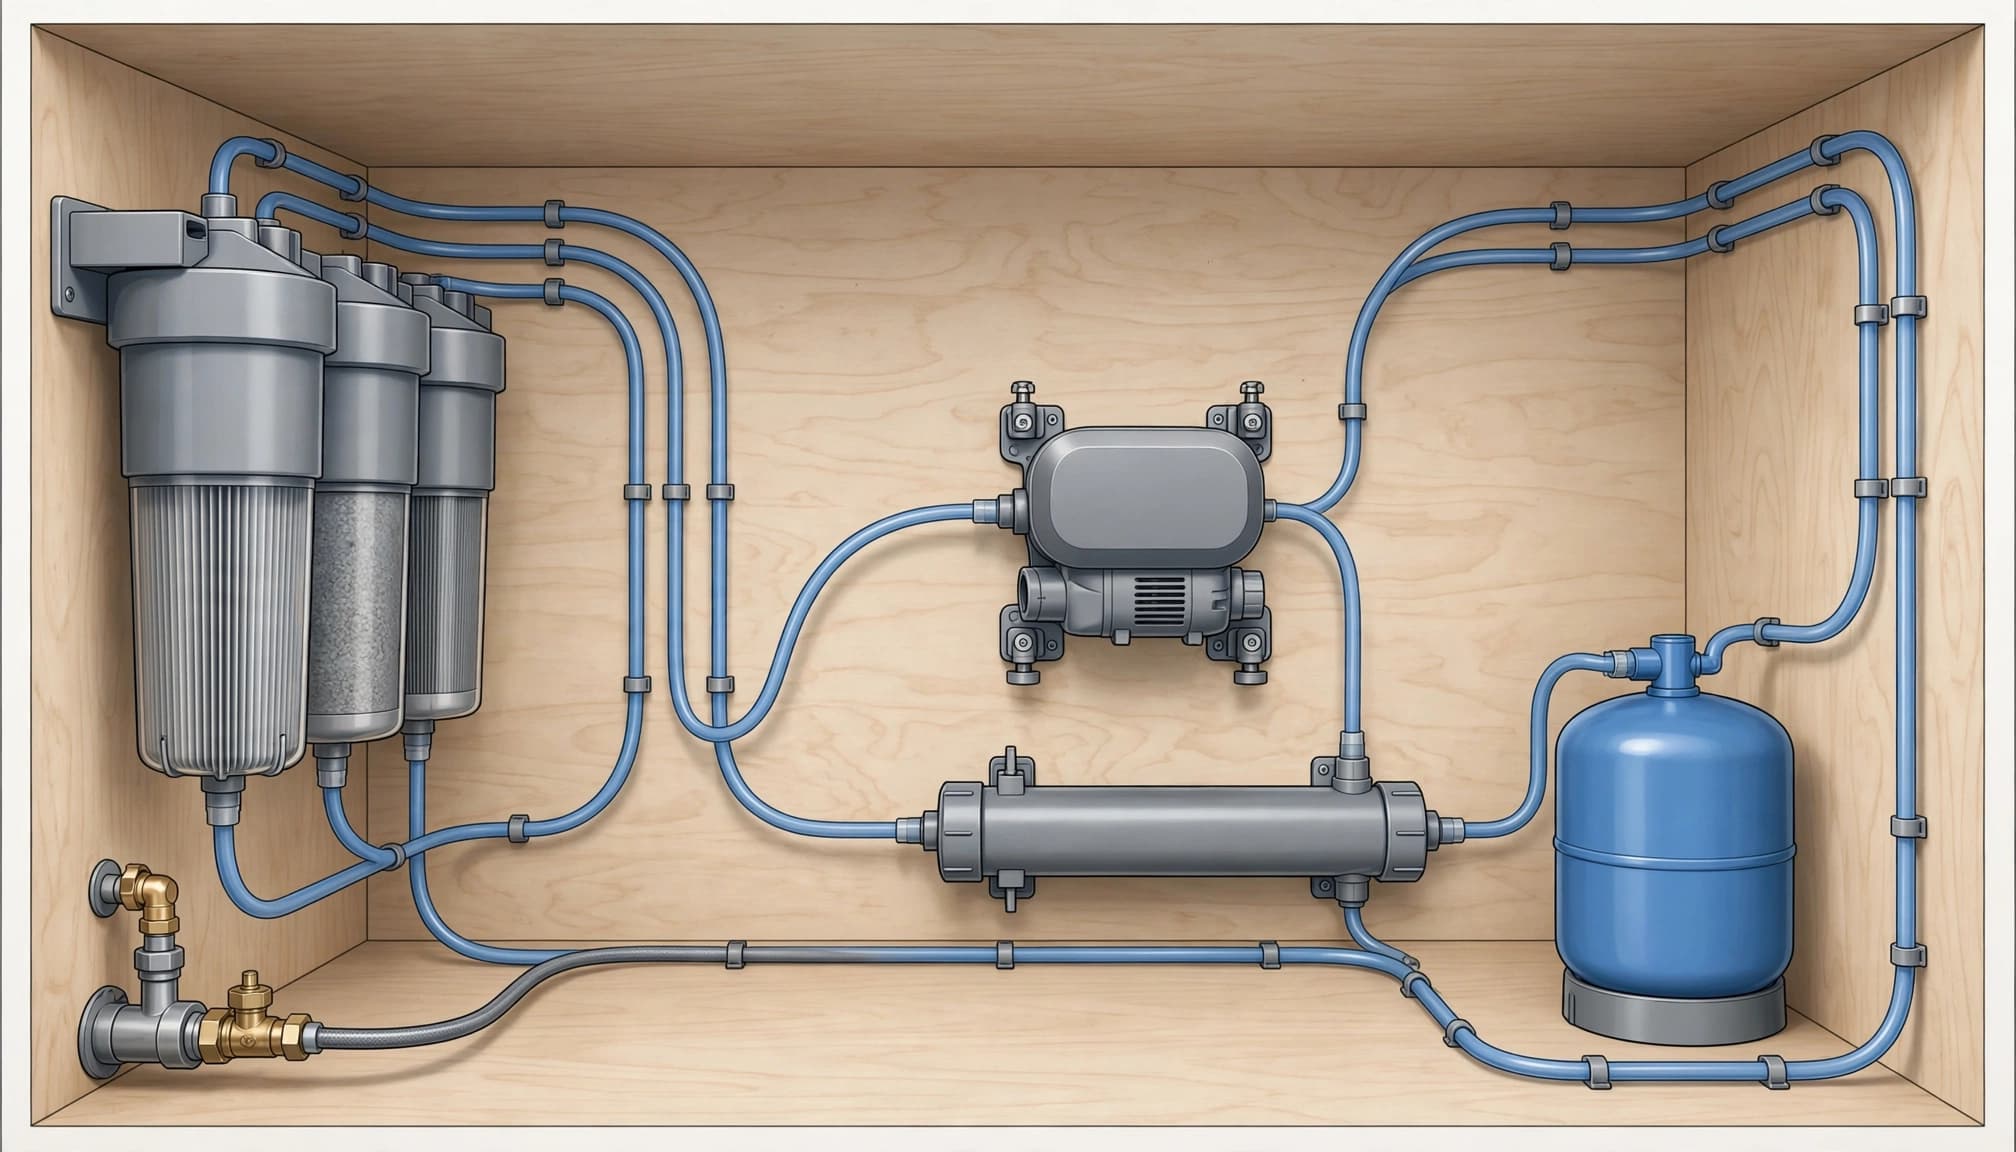
Look for movement at the bracket
With power disconnected, look at the mounting screws, bracket, and pump feet. A visible gap beneath one foot, a tilted bracket, or a screw that has backed out can point toward an uneven installation.
If the pump or bracket feels loose, arrange to have it secured. Don't overtighten fasteners or force the housing into alignment. Too much pressure can damage a mounting foot or distort a bracket.
Look at the material behind the pump
Even a secure pump can transfer vibration into a cabinet panel. If the sound seems to come from the panel rather than the pump itself, the mounting location may be amplifying it.
A technician can assess the surface and use mounting hardware or vibration isolation suited to the equipment. Keep the pump accessible and avoid packing towels, foam, or other loose material around the motor to muffle it.
Look for Tubing and Fittings Touching the Cabinet
Tubing can carry pump movement to another part of the installation. A line that rests against a cabinet wall, filter housing, or storage tank may tap or buzz while the pump runs.
Start by looking for contact points near the pump and along the visible tubing route. A line doesn't need to be damaged to transmit sound.
Give water lines room to move
With power off, remove loose objects that press against the tubing. If a line is visibly crowded or held tightly against a panel, its route may need adjustment.
Don't pull on fittings, make sharp bends, or disconnect a line to create clearance. A kink can restrict flow, while tension at a fitting can cause a leak. If the tubing has little slack or appears pinched behind equipment, have the installer reposition it.
Keep the drain route clear
An under-sink RO system also has a drain line. A sagging, kinked, or crushed drain tube can cause drainage trouble and noise that may be mistaken for pump vibration.
Some systems use an air-gap faucet, which can make a brief gurgling or trickling sound during tank refill. Water escaping around the faucet base or pooling in the cabinet needs attention. Don't block the air-gap opening or push anything into it.
Consider Air Trapped After Installation
Air can remain in an RO system after new equipment is installed or water lines are opened. During startup, that air may cause sputtering at the faucet or uneven sounds as water moves through the system.
An air-related noise should improve as the system completes its startup process. Persistent rough operation needs further diagnosis rather than repeated attempts to make the pump run.
Let the system complete startup
Use the startup and flushing directions supplied with the equipment. Different RO systems have different tank, valve, and pump arrangements, so one generic flushing sequence won't fit every installation.
While the system runs, watch for leaks and listen for a change in the sound. Don't let a pump continue running if it appears to be starved of water, sounds strained, or produces no expected flow.
Know when air may not be the answer
If the pump continues to shake after startup, another issue may be present. A loose mount, restricted inlet, incorrect tubing connection, or pressure-control problem can produce symptoms that sound similar.
Air at the faucet also doesn't prove that air is trapped inside the pump. A technician can separate faucet or drain noise from pump noise without opening components unnecessarily.
Check for Flow and Pressure Problems
A booster pump needs an adequate water supply and a pressure range suited to the RO equipment. Too little inlet flow can make operation uneven. A restriction or a mismatch elsewhere in the system can also affect how the pump runs.
Pressure at rest doesn't tell the whole story. Pressure can look acceptable when no water is moving and fall when the RO system begins producing water.
Check the supply and pretreatment
Look for an obviously closed or partly closed feed valve, if you can identify it. Also consider whether a sediment filter or another pretreatment component may be restricting flow. New equipment can still have a kinked line or an incorrectly positioned valve.
Don't bypass treatment equipment or remove filter housings while troubleshooting pump noise. A professional can measure pressure during operation and compare readings across pretreatment stages.
On an established system that received a new pump, overdue filters may already be restricting flow. Our guide to whole-house RO service warning signs explains other changes that can accompany filter or membrane problems.
Consider the well system and controls
For a home on a private well, the well pump, pressure tank, treatment equipment, and RO booster must work together. If the well supply can't provide enough flow, a booster pump won't solve that supply limitation.
Repeated starts can also involve a pressure switch, tank, valve, or automatic shutoff control. Don't change switch settings yourself. Our overview of RO pump pressure and installation considerations covers how these parts fit into a whole-house system.
Review the Installation if Vibration Continues
When the simple checks don't explain the noise, the pump and the surrounding components need a closer inspection. An installation issue can involve more than the pump's mounting position.
Check routing and alignment
Tubing that pulls sideways on a fitting can place strain on the pump connection. A twisted bracket or an awkward pipe route can also make the installation less stable.
Leave these corrections to the installer if they require moving the pump, cutting tubing, or opening fittings. The system should be isolated and depressurized before plumbing connections are disturbed.
Match the pump to its job
A feed booster pump raises pressure before water reaches the RO membrane. A separate delivery pump may move treated water from a storage tank to household fixtures. These pumps address different pressure needs.
If a whole-house system vibrates or cycles after a pump is added, the equipment may need a review of pump sizing, controls, pretreatment, and available supply. A stronger pump alone won't correct a blocked line or inadequate well flow.
When to Call for RO Pump Service
Call a water-treatment professional if vibration remains loud after startup, the pump moves on its bracket, or you see a leak. Frequent cycling, low production, a pressure gauge that doesn't rise, or grinding noises also warrant service.
Turn the equipment off if it sounds strained or shows signs of damage. Don't keep resetting a tripped breaker, and don't open electrical panels or adjust pressure controls.
A technician can inspect the mounting and tubing, measure operating pressure, and assess the pump and controls. For homeowners in Naples and Southwest Florida, we provide water filtration system installation, repairs, and maintenance.
Keep the Pump Running Smoothly
A little RO booster pump vibration can be normal. Persistent shaking or repeated cycling is a reason to investigate, especially when it comes with leaks or poor water production.
Start with visible contact points and the pump mount. If the cause isn't clear, professional testing can identify whether the problem lies in the installation, water supply, or controls.
Latest posts
Read Our Blog
Tips, guides, industry best practices, and news.


Contact us
Get in touch
Our friendly team is ready to chat.
