
Well Shock Chlorination After Plumbing Repairs
A repaired well can look clean while bacteria remain inside the casing, pressure tank, or household plumbing. Well shock chlorination helps disinfect the system after work introduces an opening or new equipment.
Clear water and the absence of a chlorine smell don't prove the water is safe. Local and state rules also vary, including approved disinfectants, contact times, flushing methods, and laboratory testing requirements. Before anyone drinks the water, follow the correct procedure and confirm the results with testing.
Why well shock chlorination follows plumbing repairs
Plumbing repairs can expose a private well system to soil, tools, hands, air, and contaminated water. Replacing a submersible pump, opening a well cap, repairing a broken line, installing a pressure tank, or changing treatment equipment can create an opportunity for bacteria to enter.
Bacteria may remain in places you can't see. They can cling to the inside of pipes, settle in a pressure tank, or collect around fittings and valves. A single faucet sample may not reveal the full condition of the system if water hasn't circulated through every line.
Shock chlorination introduces a stronger chlorine solution than normal drinking-water treatment uses. The solution moves through the well and connected plumbing for a set contact period. When the system is flushed afterward, the process reduces many common bacterial contaminants.
However, disinfection doesn't repair a damaged well. It won't correct a cracked casing, a loose sanitary seal, flooding, surface-water entry, or a failing pressure tank. It also doesn't remove contaminants such as nitrate, arsenic, lead, or dissolved metals. Those issues require separate testing and treatment.
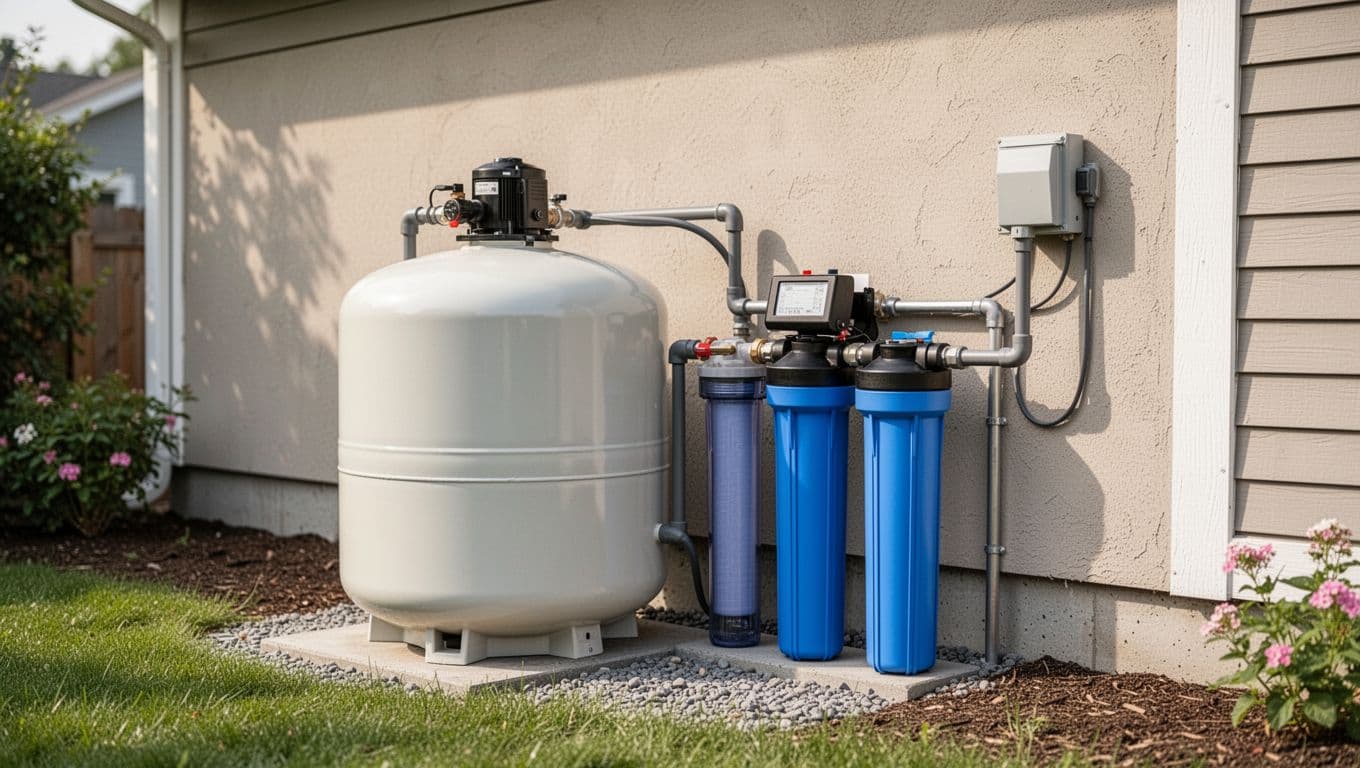
The timing matters. Complete the mechanical repair first, then disinfect the system before collecting a final water sample. If the repair involved a damaged well cap, casing, or buried line, arrange an inspection before relying on chlorination alone.
Prepare before starting well shock chlorination
Begin by finding the requirements for your area. Your county or state health department may specify the chlorine product, dosage, contact time, discharge method, and number of follow-up samples. A procedure that fits one well may not meet the rules for another location.
Many household instructions use unscented liquid chlorine bleach, but concentration differs between products. Use only an approved disinfectant and calculate the amount according to the well's inside diameter, standing water depth, and connected plumbing volume. Don't guess based on the size of the home or the amount of water in the pressure tank.
A recent bacteria test can help establish a baseline. After repairs, testing should take place through a certified laboratory using the collection method required by the lab or local authority. If you're reviewing results from a Florida well, understanding your Florida water test report can help distinguish bacteria from hardness, iron, pH, and other water-quality findings.
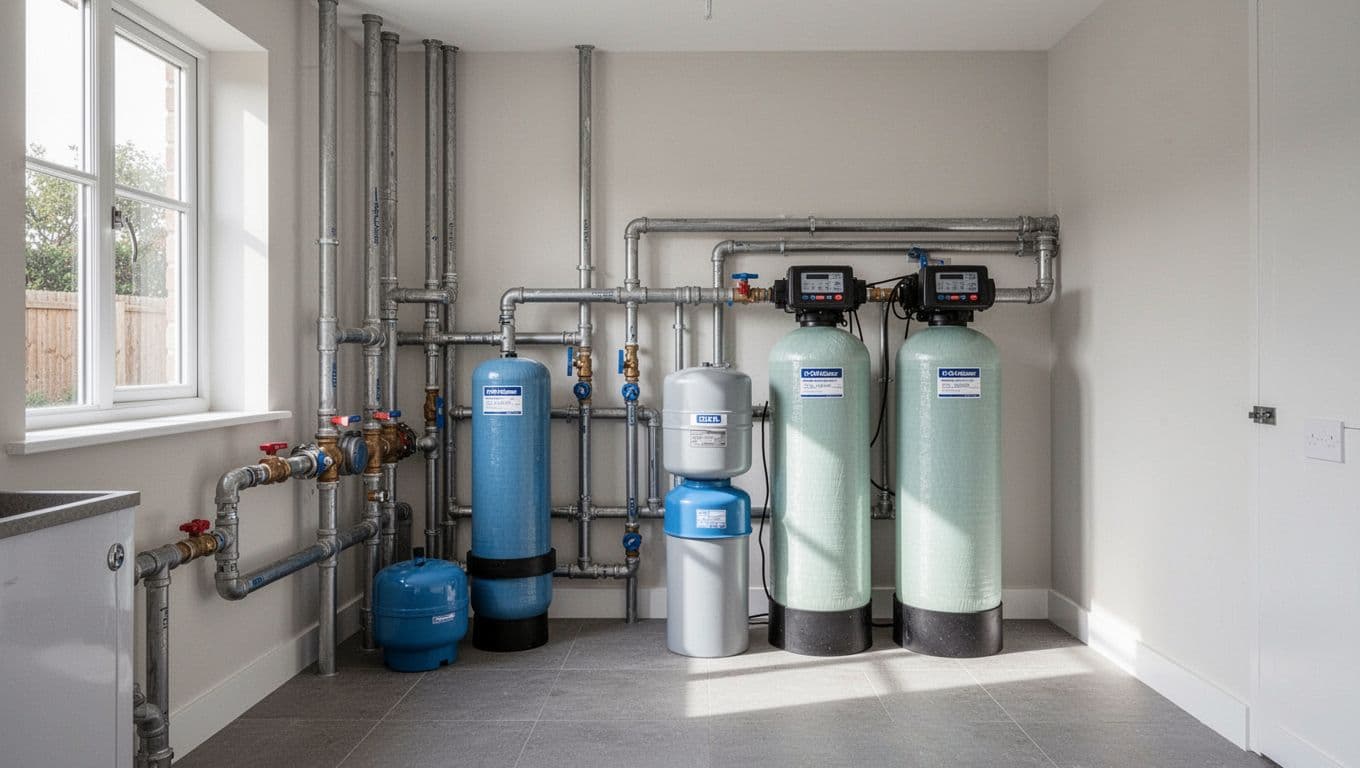
Protect the equipment connected to the well. Water softeners, carbon filters, iron filters, ultraviolet systems, reverse osmosis units, water heaters, and other appliances may have special instructions for chlorination. Some manufacturers require a bypass setting, cartridge removal, or temporary disconnection. Follow those directions instead of sending concentrated chlorine through every device.
Gather the supplies before opening the system:
- Use protective gloves and eyewear, and work in a well-ventilated area.
- Keep a clean hose, bucket, and suitable chlorine test method available.
- Plan where chlorinated water will discharge without harming plants, septic components, ponds, lakes, fish, or fountains.
- Keep household members and pets from using the water during the contact period.
Never mix chlorine with other chemicals. Keep it away from ammonia, acids, toilet-bowl cleaners, and other cleaning products. Mixing chemicals can release dangerous gases or cause a violent reaction.
If you don't know the well depth, casing size, chlorine concentration, or condition of the repair, stop before adding disinfectant. A professional can identify the system volume and prevent equipment damage.
The well shock chlorination process after repairs
The exact procedure must follow local requirements and the disinfectant label. These steps describe the general sequence, not a substitute for instructions from your health department, laboratory, well contractor, or equipment manufacturer.
Introduce the measured disinfectant
Open the well access only if the cap and opening are designed for safe service. Pour the measured disinfectant into the well without splashing it on skin, clothing, wiring, or nearby surfaces. Rinse the inside of the casing with a hose if the approved procedure calls for it.
Some procedures recirculate water by running a hose from an outdoor faucet back into the well. This helps mix the chlorine through the casing, but the method must fit the well design. Avoid opening sealed components or changing electrical connections if you aren't trained to service them.
The amount of chlorine and water used for mixing matters. Too little may fail to disinfect the system, while too much can damage treatment equipment, create a long flushing period, or violate local discharge instructions.
Move chlorine through every water line
Turn on connected faucets one at a time until you detect chlorine at each outlet. Include cold-water lines, outdoor hose bibs, toilets, and hot-water lines when the equipment instructions permit. Use care around appliances that automatically draw water, such as ice makers and washing machines.
Don't send concentrated chlorine through a reverse osmosis membrane, carbon cartridge, ultraviolet unit, or other treatment component unless its manufacturer specifically allows it. Bypass or protect those devices according to their instructions.
Once chlorine reaches the fixtures, close the faucets and leave the system undisturbed for the required contact period. Local procedures may call for several hours or an overnight soak. During that time, don't drink, cook with, bathe in, or wash laundry with the water.
Flush the system and restore equipment
After the contact period, flush the system through an appropriate outdoor outlet first. Direct the discharge away from the septic drainfield, garden beds, streams, ponds, lakes, and fountains. Chlorinated water can damage plants and aquatic life.
Follow local instructions for septic discharge. Don't assume a large volume of chlorine belongs in a septic system or storm drain. If the water will reach a lake or fountain, use a different discharge plan and check local requirements first.
Continue flushing until the chlorine level falls within the range specified by the procedure or reaches zero on the recommended test. Then flush indoor faucets, toilets, hot-water lines, and other approved outlets. Water may look cloudy or carry sediment for a short time after the well and plumbing are disturbed.
Finally, return treatment equipment to service as directed by the manufacturer. Reinstall or replace cartridges when required. If a filter clogs quickly, or the odor and discoloration continue, stop using the water for drinking and arrange an inspection.
Test the water after disinfection
Wait until the chlorine has fully flushed from the system before collecting a bacteria sample. Residual chlorine can affect the test and produce a result that doesn't reflect normal water conditions.
Use the sterile bottle supplied by the laboratory. Follow the lab's instructions about the faucet, cleaning method, sample volume, refrigeration, and delivery time. Don't touch the inside of the bottle or its cap. A sample taken from a dirty aerator can create a plumbing-related result that doesn't represent the well.
Testing commonly includes total coliform and E. coli bacteria, but local requirements may include additional tests or repeat samples. Some jurisdictions require a single satisfactory result, while others require multiple negative samples after a repair. Ask the health department or laboratory what your location requires.
Until the required results are acceptable, use another safe water source for drinking, cooking, brushing teeth, and making ice. A clear sample with no odor isn't enough to remove that precaution.
A positive result after well shock chlorination deserves investigation. Possible causes include a damaged cap, cracked casing, poor drainage around the wellhead, a leaking buried line, a contaminated pressure tank, or bacteria inside household plumbing. Repeating the same chlorine treatment without finding the source can delay the correct repair.
When to call a well or water-treatment professional
Professional help is the safer choice when the well is damaged, flooded, difficult to access, or connected to complex treatment equipment. Call before starting if you aren't sure how to calculate the dose, bypass a filter, protect a membrane, or flush the system without affecting a septic area or nearby water feature.
Recurring bacteria results also need more than another round of bleach. A contractor can inspect the wellhead, casing, pressure tank, pump connections, and plumbing for an entry point. If the problem continues, the local health department may provide additional sampling or repair requirements.
Once bacteria concerns are resolved, choose treatment based on a complete water analysis. A softener, sediment filter, iron filter, or reverse osmosis system handles different problems. Check well pump flow rate for treatment before buying equipment, because filters and backwashing systems need sufficient flow to work properly.
A qualified water-treatment company can also check whether your existing equipment can tolerate the disinfection process. That review is especially useful after a pump replacement or a major plumbing change.
Conclusion
Plumbing repairs can leave a private well system vulnerable to bacterial contamination even after the water begins running normally. Well shock chlorination can disinfect the well and connected lines, but only when the dose, contact period, equipment protection, and flushing method fit the system.
Follow local and state requirements, use only approved disinfectants, and never mix chlorine with other chemicals. After flushing, rely on certified laboratory testing rather than taste, smell, or appearance. If the well is damaged, bacteria results keep returning, or any step feels uncertain, professional assistance protects both your water supply and your treatment equipment.
Latest posts
Read Our Blog
Tips, guides, industry best practices, and news.
Contact us
Get in touch
Our friendly team is ready to chat.