
Pressure Tank Settings for Private Well Treatment Systems
Low water pressure can make a well system feel unreliable, especially when a shower head produces only a weak stream. Properly balanced settings support dependable service for filters, softeners, UV units, and RO equipment.
Unlike municipal water, a private well requires the pump, tank, plumbing, and treatment equipment to work together. This guide explains how pump controls differ from the tank’s internal air charge, without assuming higher pressure is always better.
Key Takeaways
- Set the pressure tank pre-charge to about 2 PSI below the pressure switch's cut-in setting, and always measure it with the tank fully drained.
- Common pressure switch settings include 20/40, 30/50, and 40/60 PSI, but higher pressure is not automatically better for a private well system.
- The pump, tank, plumbing, filters, softeners, UV units, and RO equipment must all support the selected pressure and required flow rate.
- Low flow may result from a clogged filter, restricted fixture, weak pump, or low-yield well rather than inadequate pressure.
- Adjust pressure switches carefully, verify a complete pump cycle, and call a qualified professional for electrical faults, persistent low pressure, or equipment that cannot reach cut-out.
How the Pump Controls Pressure
A private well system uses a pressure switch to tell the pump when to start and stop. The pressure tank stores a small amount of pressurized water, so the pump doesn't run every time someone opens a faucet.
Cut-in and cut-out pressure
The cut-in pressure is the lower point where the pump turns on. The cut-out pressure is the upper point where it turns off.
A 20/40 setting starts the well pump at 20 PSI and stops it at 40 PSI. A 30/50 setting starts the pump at 30 PSI and stops it at 50 PSI. A 40/60 setting starts the pump at 40 PSI and stops it at 60 PSI.
Each setting has a 20-PSI pressure range. It describes the switch cycle, not the tank's internal charge. Higher numbers don't automatically mean better service. Your pump, tank, pipes, fittings, filters, and treatment equipment must all be rated for the selected pressure. Raising settings too far can cause leaks, damage the tank, shorten pump life, or trigger safety issues with treatment controls.
Water pressure is not water volume
Pressure is the force moving water through plumbing, while flow rate is the number of gallons available per minute. Unlike municipal water, a private well has limits on supply and flow, and these measures aren't the same.
A shower may feel weak because a sediment filter or clogged shower head restricts flow, even if the pressure reading seems normal. Similarly, a pump with limited flow may struggle when several fixtures, an irrigation zone, and a backwashing filter operate together.
A higher setting cannot create water that the well or pump cannot supply.
Before adding or changing equipment, review well pump flow rate for treatment systems. A treatment system must match both the available pressure and the pump's actual flow capacity.
Start With Safe Service Practices
A pressure switch contains live electrical terminals. A pressure tank stores energy in compressed air and water, even after power is disconnected. Treat every adjustment as electrical and plumbing work.
Shut off power and release pressure
Turn off power at the breaker or circuit panel before removing a pressure switch cover or touching any wiring. Prevent the pump from starting unexpectedly, and stop if you’re unsure how to do this safely.
Next, close the water supply to treatment equipment if its manufacturer requires isolation during service. Open a nearby faucet, then use the tank drain or hose bib to relieve pressure. Check the pressure gauge, and confirm it reads 0 PSI before touching fittings or switch components. Stored water and compressed air remain hazards, even with power off. Never loosen fittings on a pressurized system.
Use a flashlight and a dry work area. If the switch contacts look burned, wiring insulation is damaged, or water is present inside the switch housing, stop work. Call a qualified professional if you’re uncertain about the equipment or repair.
Check the labels before changing anything
Read the pressure rating on the tank, switch, filter housings, softener valve, ultraviolet system, and any booster pump. The lowest-rated component determines the maximum safe system pressure.
Treatment equipment also has operating requirements. Some control valves need a minimum flow rate to backwash correctly. A UV system may have a maximum rated flow, while reverse osmosis equipment may need a booster pump or storage tank instead of a higher house-pressure setting.
Set the Pressure Tank Pre-Charge Correctly
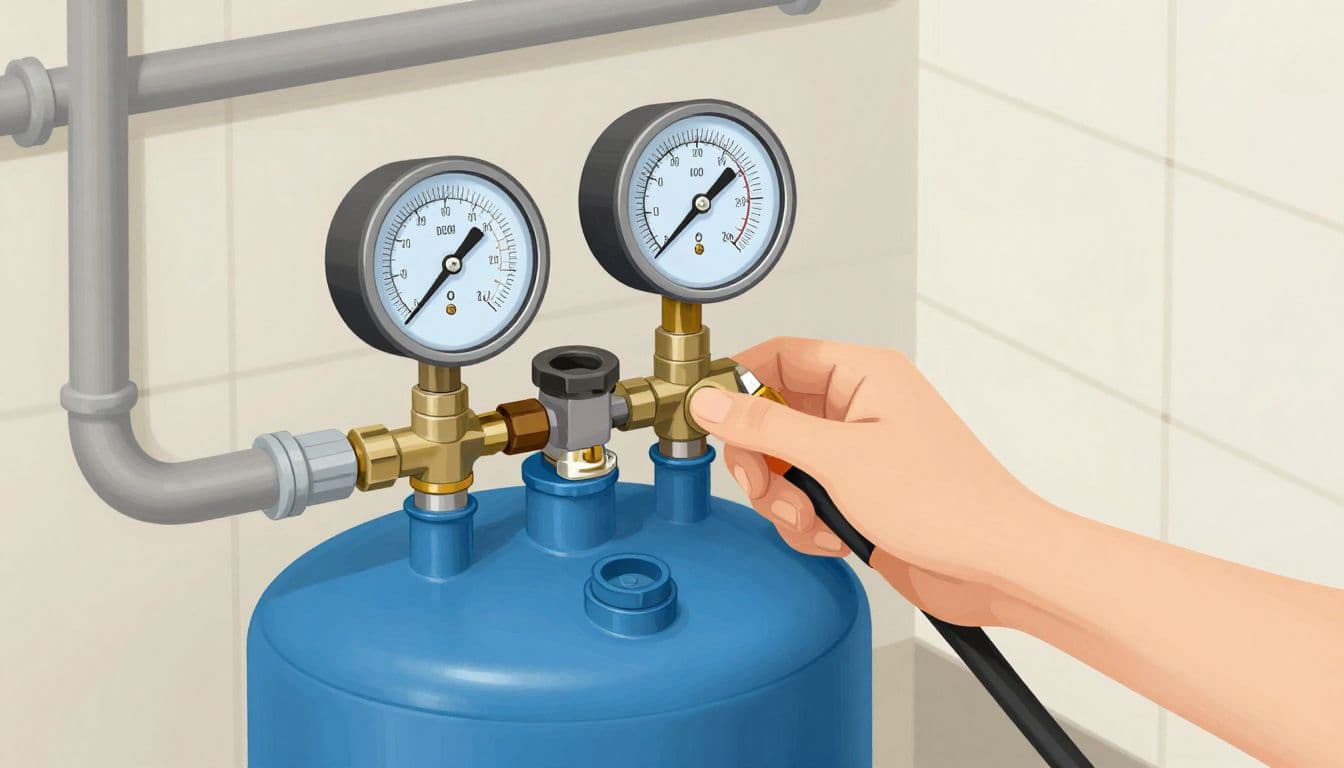
The pressure tank stores water against air pressure on its air side. Its pre-charge is that air-side pressure, measured with the water side fully empty. The pressure switch uses separate cut-in and cut-out points to start and stop the pump.
In a bladder tank, air sits on one side of a rubber bladder while water enters the other. As water fills the tank, it compresses the air.
For most bladder tanks, use this rule:
Tank pre-charge = cut-in pressure minus 2 PSI
A system with a 40-PSI cut-in pressure usually needs 38 PSI on the air side. A 30-PSI cut-in usually calls for 28 PSI. Follow the tank manufacturer's instructions if they specify a different procedure.
Why the tank must be empty first
Never check tank pressure while water remains in the tank. Pressure on the water side pushes against the membrane and creates a false reading at the air valve.
To set the charge safely:
- Shut off pump power at the breaker.
- Open a faucet and drain the tank completely through its drain valve or a hose connection.
- Keep the drain open until water stops flowing and the pressure gauge reads 0 PSI.
- Use an accurate tire-style gauge at the tank's air valve to measure air pressure.
- Add air with a compressor or release it in short bursts until the charge is 2 PSI below cut-in.
- Close the drain, restore the water path, and turn the pump power back on.
Never adjust the air charge while the tank remains pressurized, and don't exceed the tank's rated limit.
Check for water at the tank's air valve. Water from that valve usually signals a ruptured membrane. If a bladder tank releases water from the valve, replace it rather than repeatedly adding air.
What incorrect pre-charge causes
If the charge is too high, the tank may deliver little or no water before the pump starts. The membrane can press against the tank bottom, and the system may short-cycle.
If the charge is too low, the tank holds less usable water than intended. The pump runs more often, adding wear to the motor, switch contacts, and pump-start components.
Adjust the Well Pressure Switch With Care
Adjust the pressure switch only after confirming the tank pre-charge, pressure gauge, plumbing, and treatment filters are in good condition. An adjustment can't repair a failed bladder, weak pump, blocked filter, bad gauge, or low-yield well.
What the two adjustment nuts do
Many Square D Pumptrol-style switches, including common 20/40, 30/50, and 40/60 models, use two spring-loaded adjustment points beneath the cover. Some models use adjustment screws instead of nuts, so check the switch label and manufacturer's manual before turning anything.
The larger center adjustment, often called nut number one, normally moves the cut-in and cut-out settings together. This usually keeps the same difference between them.
The smaller adjustment, often called nut number two, changes the cut-out point and the pressure range. Its direction and behavior vary by manufacturer, so don't assume which way to turn it.
Small changes matter. Record each change, and don't override the factory setting without confirming the manufacturer's specifications and component ratings. Turn a nut or screw only one or two turns at a time. Replace the cover, restore power, and observe a complete pump cycle.
Test the full cycle, not one gauge reading
Run water until the pump starts. Record the cut-in pressure. Then close the faucet and record the cut-out pressure.
If the pump fails to reach cut-out, turn off power. The cause may be a worn pump, plugged filter, restricted pipe, low well production, or a switch fault. Never raise the cut-out point to force a well pump beyond its capacity.
A pressure gauge that jumps, sticks, or reads implausibly can send you in the wrong direction. Compare it with a known-good gauge before making further adjustments.
Match Pressure to Filters, Softeners, and RO Equipment
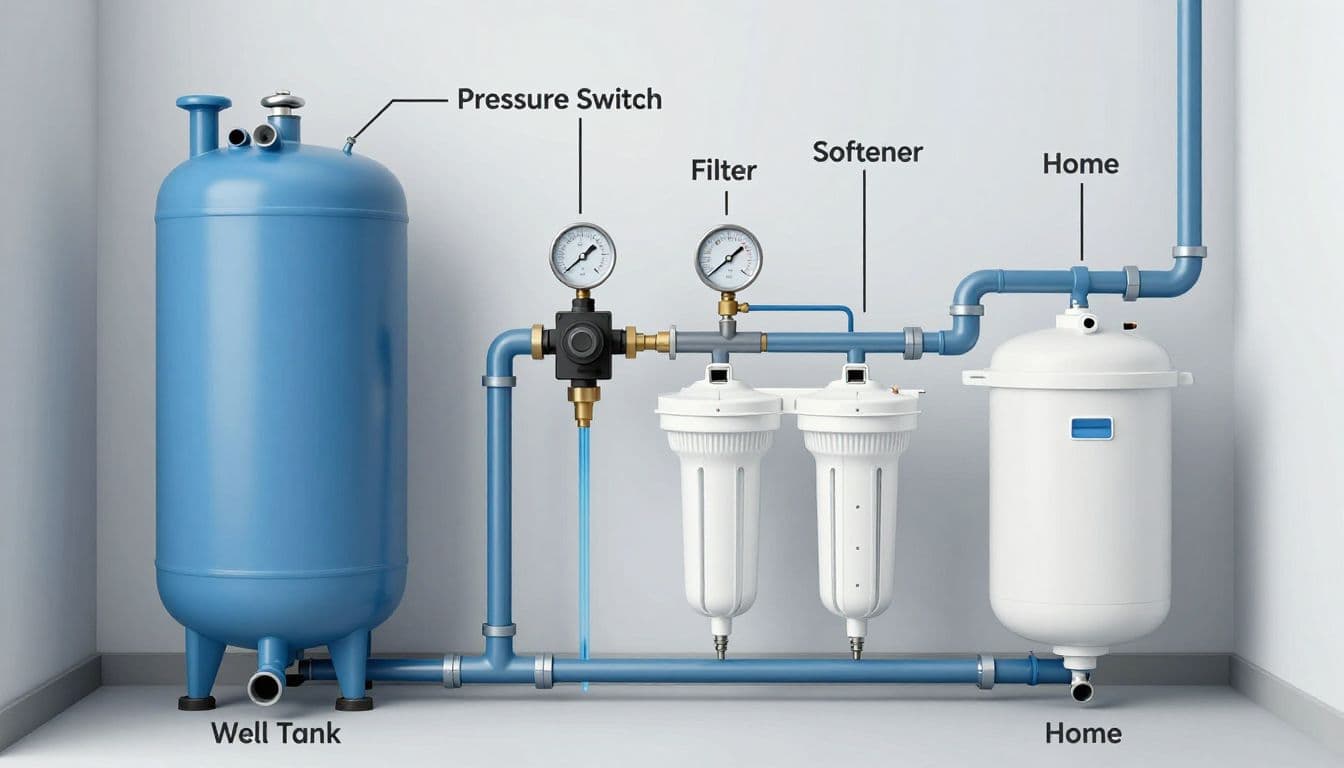
A treatment train adds resistance to water flow, and each component has its own pressure and flow limits. A clean cartridge causes some pressure drop, while loaded media can cause a large one. The pressure tank and pump must support treatment demand without making the pump cycle excessively.
Filters and softeners need adequate flow
Sediment filters, iron filters, carbon tanks, and softeners all restrict flow, even when clean. Clean cartridges cause modest pressure drops, but loaded media beds or cartridges need replacement and can create major flow restriction. Check tank pressure against the reading after treatment when a shower head loses flow, even if the tank reading seems normal.
Backwashing equipment needs enough flow to clean its media. Increasing pressure can't compensate for a pump that can't meet the backwash requirement. This is also why sizing a water softener for a private well requires more than a hardness number.
UV and reverse osmosis systems have different needs
A UV unit depends on flow staying within its rated range so water receives the intended exposure. Too much flow can exceed its maximum rating and reduce treatment time. Low pressure may also trigger alarms or reduce flow through some systems.
Whole-house reverse osmosis often uses appropriately sized storage tanks and a repressurization pump. It shouldn't depend on a standard well tank alone to solve pressure concerns. Homes considering this setup should review whole-house RO storage tank sizing before changing well controls.
Troubleshoot Low Pressure and Pump Short Cycling
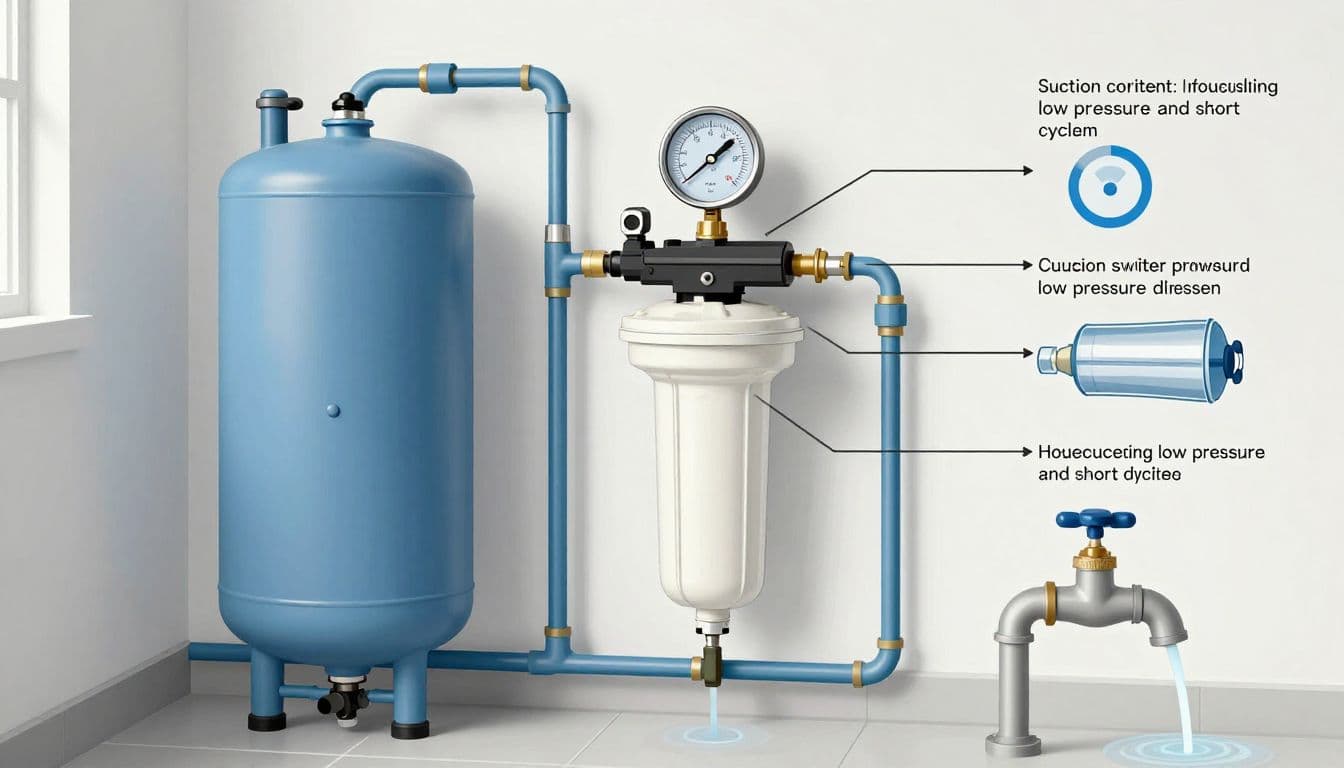
For troubleshooting, first determine whether low water pressure affects one fixture or the whole house. Check the pressure gauge near the tank, then follow the plumbing and treatment equipment outward. A normal reading with weak flow may indicate inadequate water volume instead of low pressure.
Separate a fixture problem from a system problem
If one shower has poor flow while other fixtures work well, inspect the shower head, faucet aerator, mixing valve, or local shutoff valve. Clean or temporarily remove the shower head for comparison, since mineral buildup can restrict one fixture.
If pressure drops throughout the home, inspect treatment equipment and valves for a flow restriction. If a manufacturer-approved bypass valve is available, briefly bypass the filter or softener for comparison, but don't consume untreated water. Restore treatment afterward, improved flow points to a restriction in that equipment.
Also check that shutoff valves are fully open. A partially closed valve can imitate a failing pump.
Signs the pressure tank or switch needs replacement
A pump that starts and stops every few seconds usually indicates short cycling. First, drain the tank before checking air pressure and pre-charge. If both are correct but cycling continues, the bladder may have failed or the pressure tank may be waterlogged.
Other warning signs include:
- Water at the air valve, which usually confirms internal tank damage.
- A pressure tank that feels full of water from top to bottom and has almost no drawdown.
- Pressure switch contacts that are pitted, welded, or visibly burned.
- A pump that won't shut off because it can't reach its rated pressure.
- A gauge that remains at one number while water demand changes.
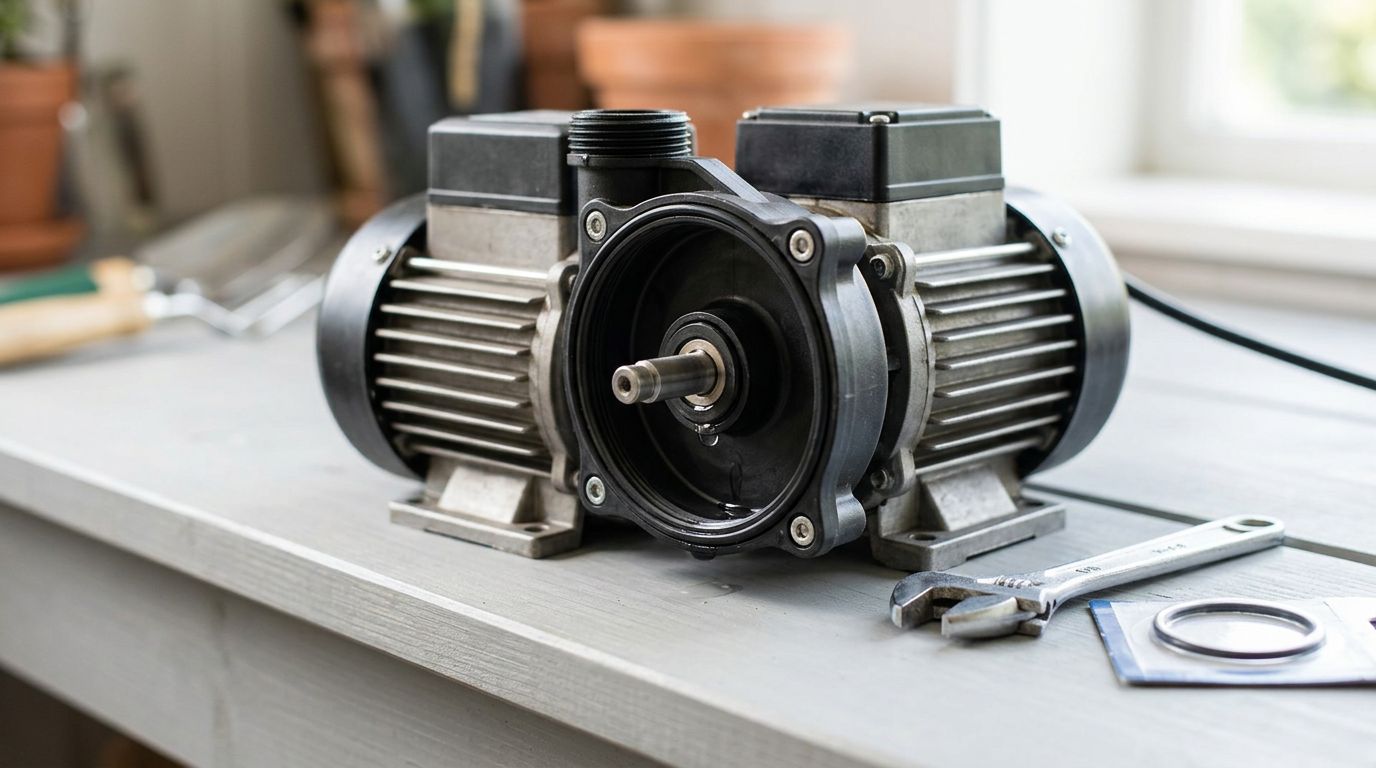
Some components are repairable only in limited situations. Have a qualified professional handle electrical faults, uncertain diagnoses, or any condition that could compromise water quality. Replace damaged components with correctly rated parts, recheck the tank setting, and verify the complete pump cycle.
When Professional Service Is the Better Choice
Call for service if the pump trips breakers, you suspect an electrical fault, pressure stays low without an obvious flow restriction, or the system fails to shut off. Sand, cloudy water, or other water-quality concerns may involve the well pump, drop pipe, well screen, well casing, check valve, or electrical controls, which aren't safe for homeowners to adjust.
Professional help is also appropriate when treatment equipment can't meet backwash or flow requirements. A qualified technician can test flow, inspect the pressure tank, verify pressure switch operation, and confirm that filters, softeners, and pumps operate within their ratings. Call a qualified well professional before raising pressure for new treatment equipment.
Frequently Asked Questions
What should the pressure tank pre-charge be set to?
For most bladder pressure tanks, set the air-side pre-charge to 2 PSI below the pressure switch's cut-in setting. For example, a 30/50 PSI system usually needs a 28 PSI pre-charge with the tank fully drained.
Should I raise my well pressure switch setting to improve water flow?
Not necessarily. Higher pressure cannot create more water than the well or pump can supply, and it may exceed the ratings of the tank, plumbing, filters, or treatment equipment.
Why does my shower have low flow when the pressure gauge looks normal?
A clogged shower head, faucet aerator, sediment filter, or treatment component may be restricting flow. Normal pressure at the tank does not guarantee adequate water volume at every fixture.
Why does my well pump start and stop every few seconds?
Frequent cycling may indicate an incorrect tank pre-charge, failed bladder, waterlogged tank, faulty pressure switch, or a flow problem. Turn off power before checking the drained tank, and seek professional help if the cause is uncertain.
When should I call a well professional?
Call for service if the pump trips breakers, will not shut off, pressure remains low without an obvious restriction, or treatment equipment cannot meet its flow or backwash requirements. Electrical faults and problems involving the pump, well, or pressure controls require qualified diagnosis.
Keep the System Balanced
Reliable well water depends on balanced pressure tank settings , not the highest possible pressure. With the tank drained, keep its charge about 2 PSI below the cut-in pressure, and keep the cut-out pressure within the ratings of the tank, pump, plumbing, and treatment equipment.
After service, verify a complete pump cycle and confirm the treatment system has adequate flow. Unlike municipal water, a private well must balance pump capacity with treatment requirements, while system pressure stays below the lowest-rated component.
Latest posts
Read Our Blog
Tips, guides, industry best practices, and news.
Contact us
Get in touch
Our friendly team is ready to chat.